
Signing up creates the account and a workspace with a company inside it. What follows is a checklist, not a wall: the product walks you through the rest, every step says how long it takes, and all but three can be skipped and picked up later.
What signing up already did
The first item on the checklist is already ticked, and it is ticked honestly rather than as encouragement. Registration writes, in one transaction: your user and your organization, the first company under it, the numbering your job tickets will use, a Parts expense type, the dispatch ticket template and the intake sheet your call centre will fill in, seven saved filters on the Jobs board, and a starting dashboard. A local business phone number is ordered at the same time.
What registration deliberately does not write is your vocabulary: no job statuses and no job types. Those are the next two steps, and they are yours to name — see job statuses for why that matters more than it sounds.
The checklist, step by step
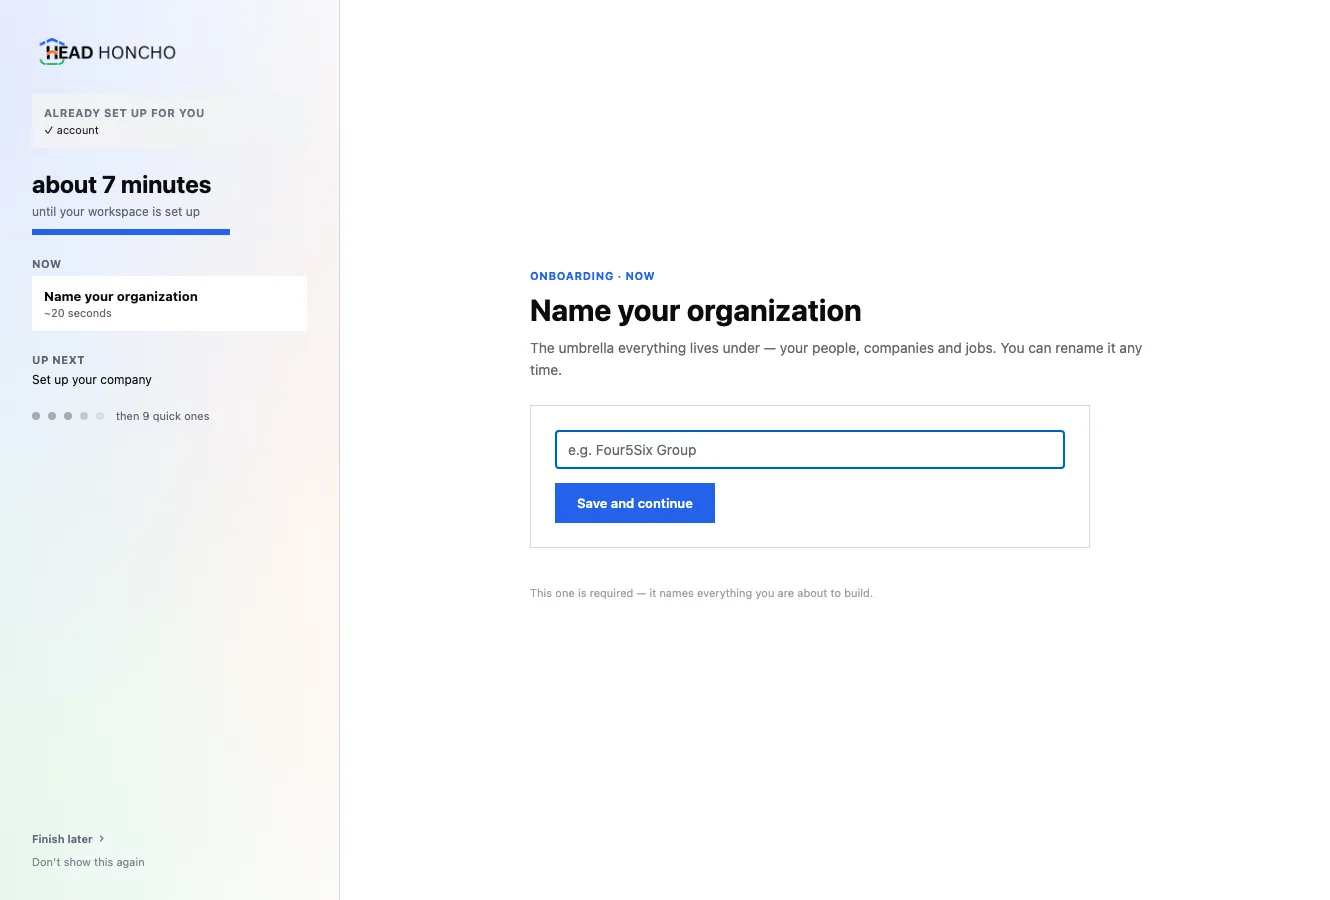
HeadHoncho getting started is one guided flow of eleven steps, and each one opens the real surface in place rather than a copy of it — so a ticked step always means the thing exists. The estimate beside each is an upper bound and the total falls as you go, including mid-minute; the whole list is minutes rather than an afternoon.
| Step | What it asks for | Where it happens |
|---|---|---|
| Name your organization | The umbrella everything lives under — your people, companies and jobs. Renameable any time | Settings |
| Set up your company | Its name, where it works, and its timezone. Every due date and daily figure is computed from these | Settings |
| Your business number | See the number that is already live for calls, name it for the place it will be shown, add more up to what the plan includes | Communications |
| Pick the work you do | Five common trades and a catch-all. Keep the ones that are yours, add your own | Settings |
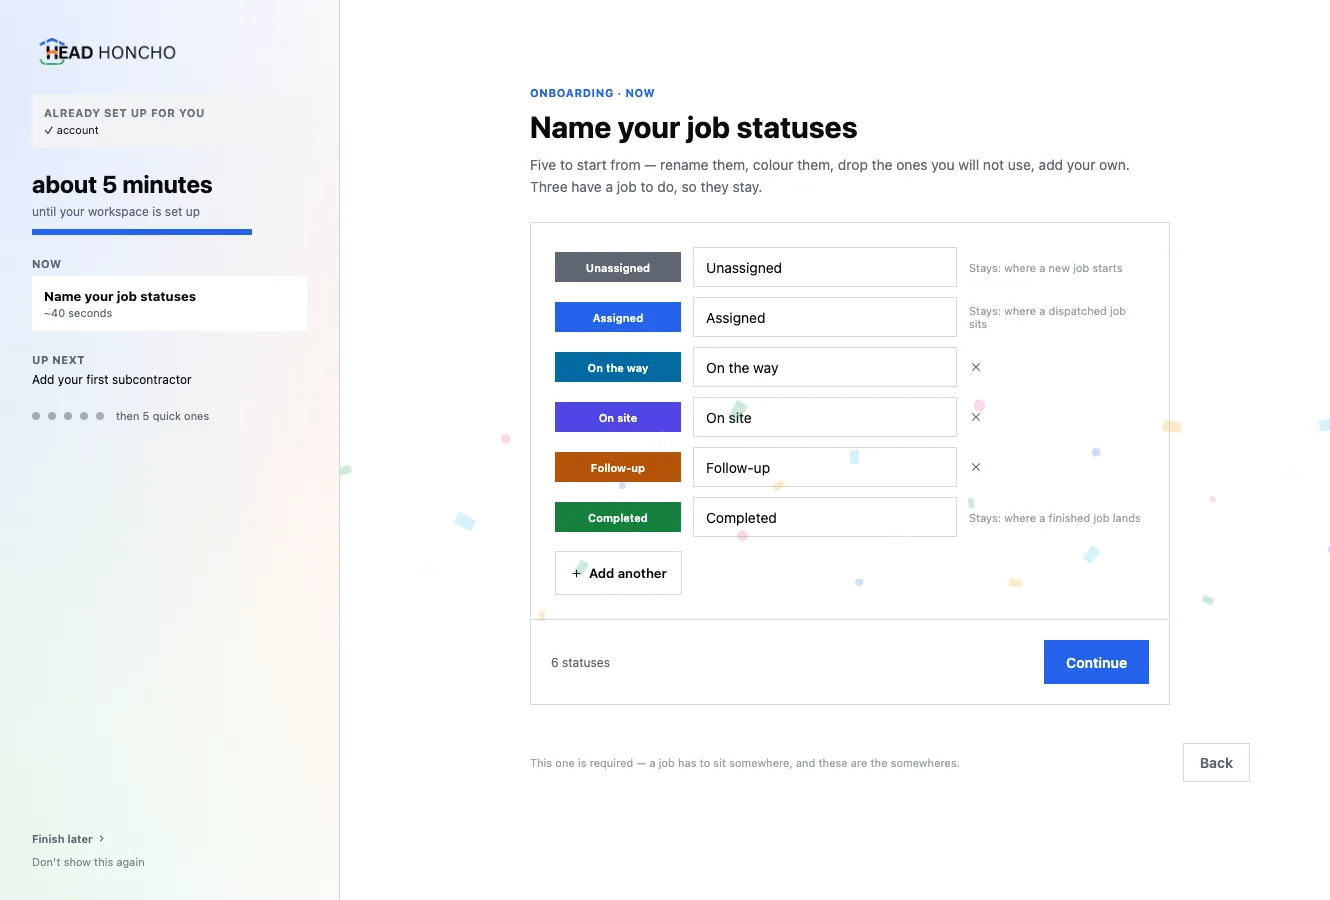
| Name your job statuses | The recommended rungs, as editable rows: rename, recolour, drop, add | Jobs |
| Add your first subcontractor | The people jobs get assigned and paid against | Team |
| Link your WhatsApp | Pair a dedicated number — one you can afford to lose, never the one your customers call | Communications |
| Choose where we read new work | The group new work arrives in. It is searchable, because some accounts have a hundred groups or more | Communications |
| Choose where tickets go | A destination belongs to a subcontractor: pick it, and say whose it is | Communications |
| Create your first job | A client, a phone number and an address. The panels light up from here | Jobs |
| Review the template and reply rules | Both are pre-filled and already working. This step is a read, not a build | Communications |
Two steps depend on the WhatsApp link and stay locked until it is made — that is guidance, not a wall, and nothing else waits on them.
The ticket template and the reply rules were written for you at registration, so the last step is you reading what is already there rather than filling in a blank builder. Nothing acts on those rules until you press Enable automation — Automations is the whole story.
The three you cannot skip
Naming the organization, picking your job types, and naming your job statuses are mandatory, and each is mandatory for a reason you can check:
- The organization's name is what the sidebar, every ticket and every report print. There is no sensible default for it.
- Job types are a required field on every job, so at least one has to exist before a job can.
- Job statuses carry three roles the product runs on — where a new job starts, where a dispatched job sits, where a finished job lands. Finance, the closing rate and the payroll import all key on the last of those.
Everything else passes through. The wizard is a guide; it does not imprison anyone.
Getting a real number on the board
The checklist gets the work into the product. One more step gets the spend in, and until it is done the marketing boards can only tell you about jobs, never about what they cost: connect an ad source under Marketing → Sources. See connecting your ad sources.
Once both sides are in, the sequence that produces the number you actually wanted goes: spend arrives from the ad platform, a tracked call or lead arrives from the call source, a job is booked and closed against it, money lands on the job, and the Insights board can put cost, booked jobs and profit after the crew in one line. Each link needs the one before it — which is why the board fills in over days rather than in a minute.
An empty board is not a broken board
A new workspace is quiet on purpose. Here is what each board is waiting for, so you can tell empty from broken at a glance.
| Board | Says nothing until |
|---|---|
| Jobs | There is a job. It fills the moment you create one, or import your history |
| Finance | Money has been recorded against a job — a collection, an expense, or a posted cut |
| Statistics | Jobs have closed. Rates need a denominator, and a closing rate over zero jobs is not a small number, it is no number |
| Marketing → Insights | A source is connected and has reported a day of spend. Spend and leads arrive on the platform's own schedule |
| Communications → Inbox | A message has arrived on a connected rail, in a bound destination |
| Notifications | Something has happened. On day one, nothing has |
Where a figure cannot be computed, the product prints why rather than a zero. A zero is a claim about the world; “no closed jobs in this window” is the truth.
If you are bringing history with you, do that next: importing your existing jobs covers what the file needs to contain and what happens to rows the importer cannot place. Otherwise, the Jobs panel is where the day starts.