How to Add the HeadHoncho Plugin to WordPress
The HeadHoncho plugin turns your website forms into leads. Every form a visitor sends becomes a lead in HeadHoncho, with their name, phone, address and message, and the lead's Job Source fills itself from the ad that brought them. It takes about five minutes, and it works the same with or without Elementor.
Before You Start
To turn website forms into leads, you need three things:
- WordPress, as an administrator. Your own WordPress, or a WordPress.com plan that lets you add plugins.
- HeadHoncho, as someone who can change Statistics. The key is made there.
- A form on your site made with Contact Form 7, Gravity Forms, WPForms, Ninja Forms or Elementor Pro's Form widget.
Someone else runs your website? Do Step 1, then send them the file and the key. Steps 2 and 3 are theirs.
Step 1 · Get Your Key
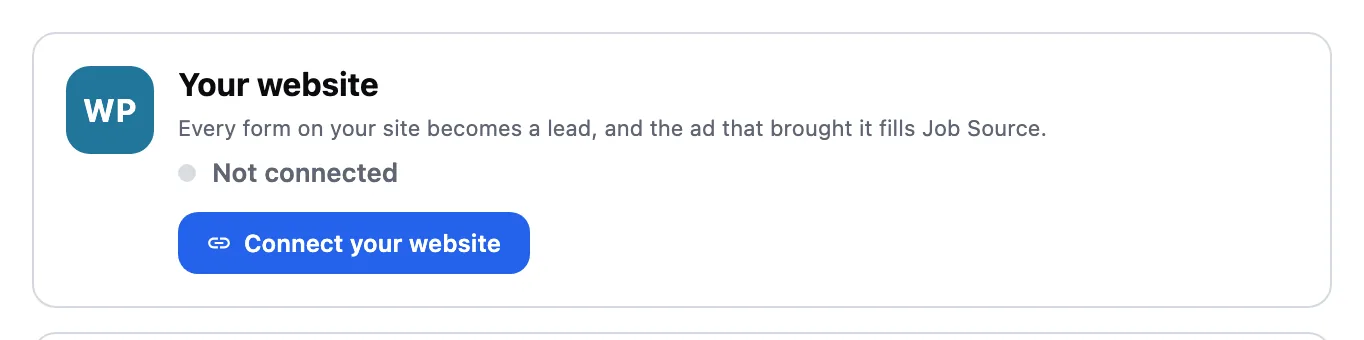
- In HeadHoncho, open Statistics › Sources.
- Under Layer 2 · What the ads produced, find Your website. It is the first card, above CallRail.
- Press Connect your website.
The card opens into three steps: the plugin to download, your key with a Copy button, and where to paste it.
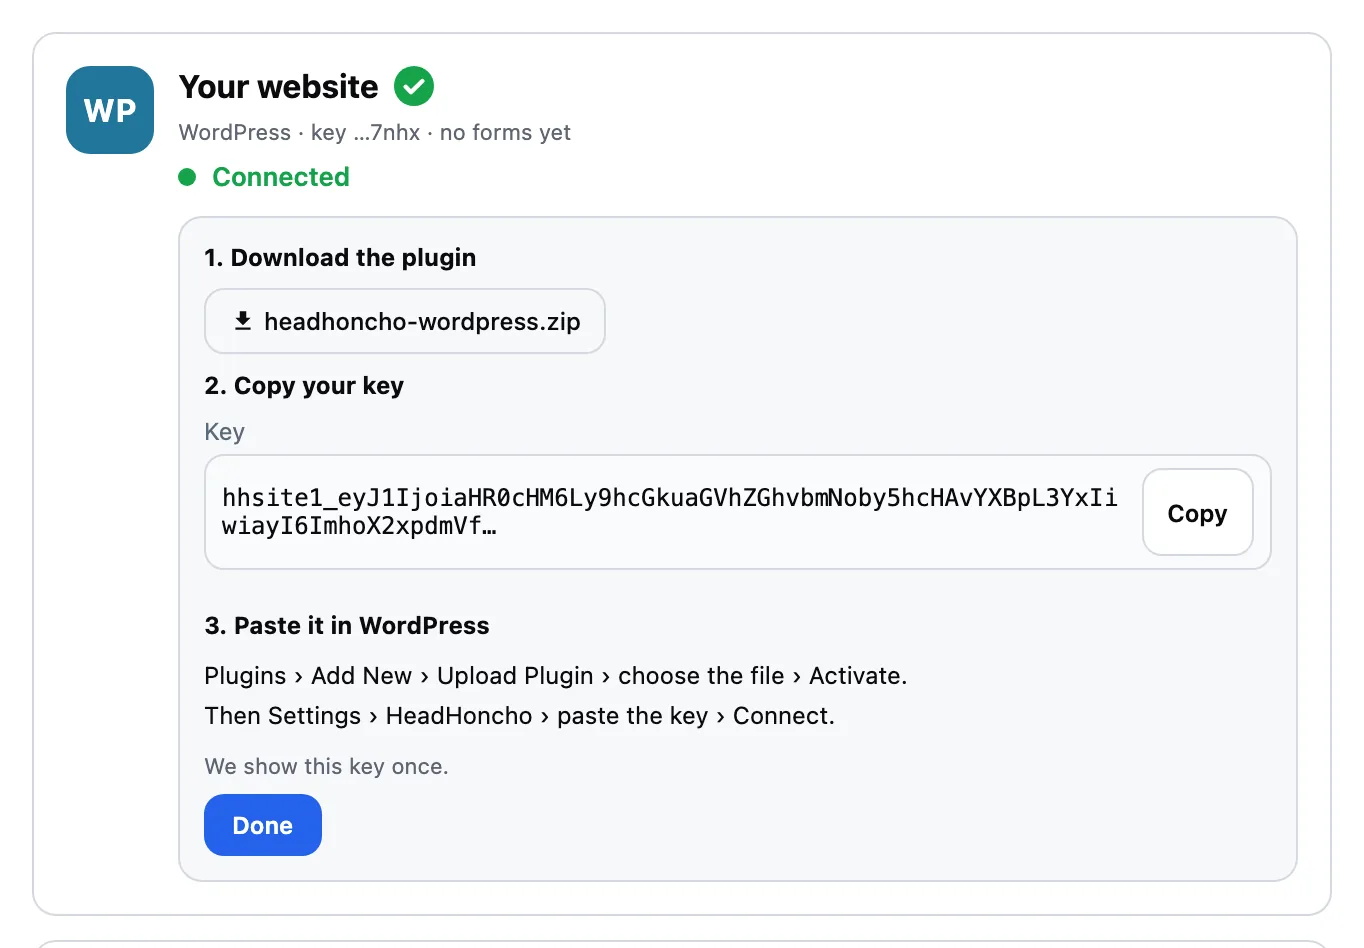
The key belongs to the company the card is under. Each company has its own website and its own key. Lost the key? Press New key on the card. The old one stops working at once, so paste the new one in WordPress straight after.
Step 2 · Install the Plugin
- Press headhoncho-wordpress.zip on the card to download the plugin. Keep the file as it is. Do not open the zip.
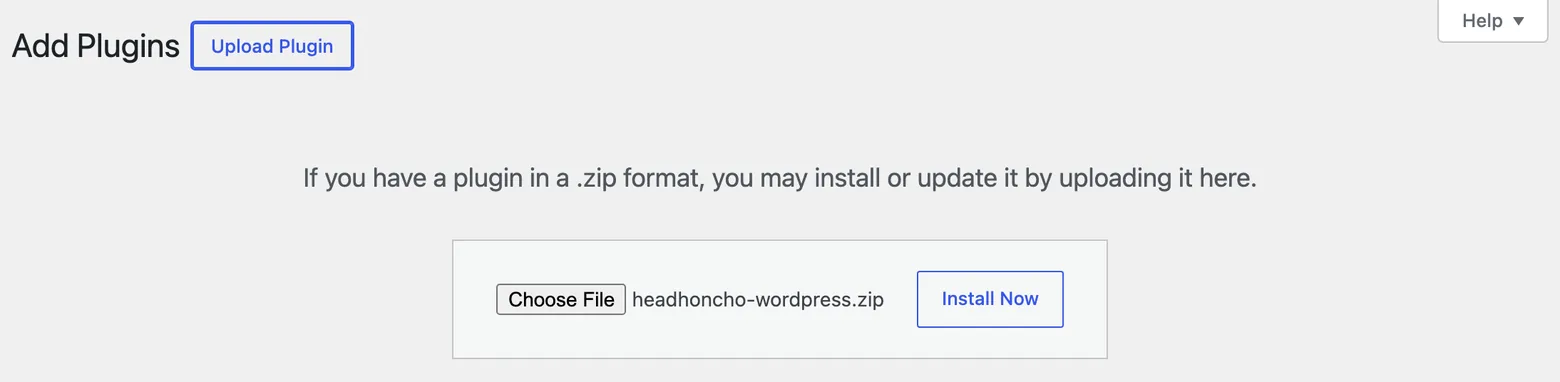
- In WordPress, open Plugins › Add New Plugin and press Upload Plugin at the top.
- Press Choose File, pick
headhoncho-wordpress.zip, and press Install Now. - Press Activate Plugin.

Until you paste the key, WordPress shows a yellow line on its Dashboard and Plugins pages: HeadHoncho is not connected yet.
Step 3 · Paste the Key
- In WordPress, open Settings › HeadHoncho.
- Paste the key into Your key.
- Press Connect.
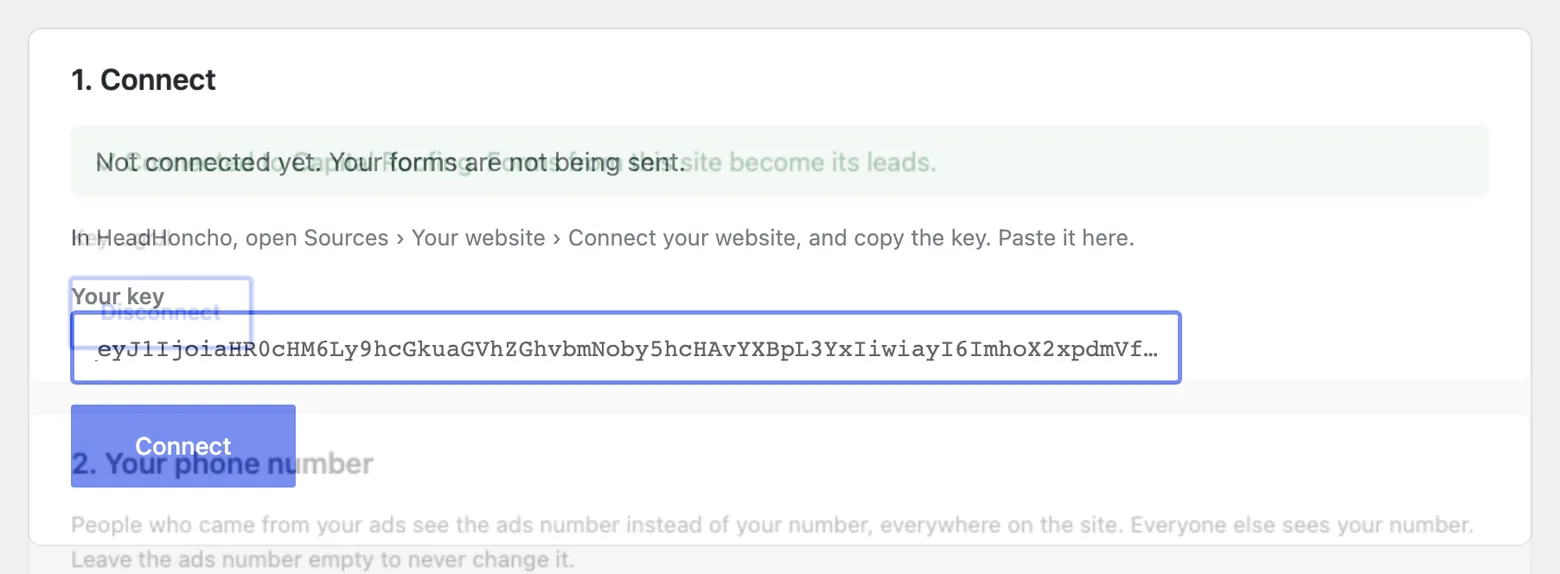
A green line says Connected to and your company's name. From now on every form on the site is sent to HeadHoncho the moment it is filled in.
Step 4 · Send a Test Form
- Open the page with your form, and add this to the end of its address:
?utm_source=google&utm_medium=cpc&utm_campaign=TestIt makes your visit look like one from a Google ad. - Fill in the form with a name and a real-looking phone number, and send it.
- Back in Settings › HeadHoncho, Last forms sent shows the form, where it came from, and the lead it became.
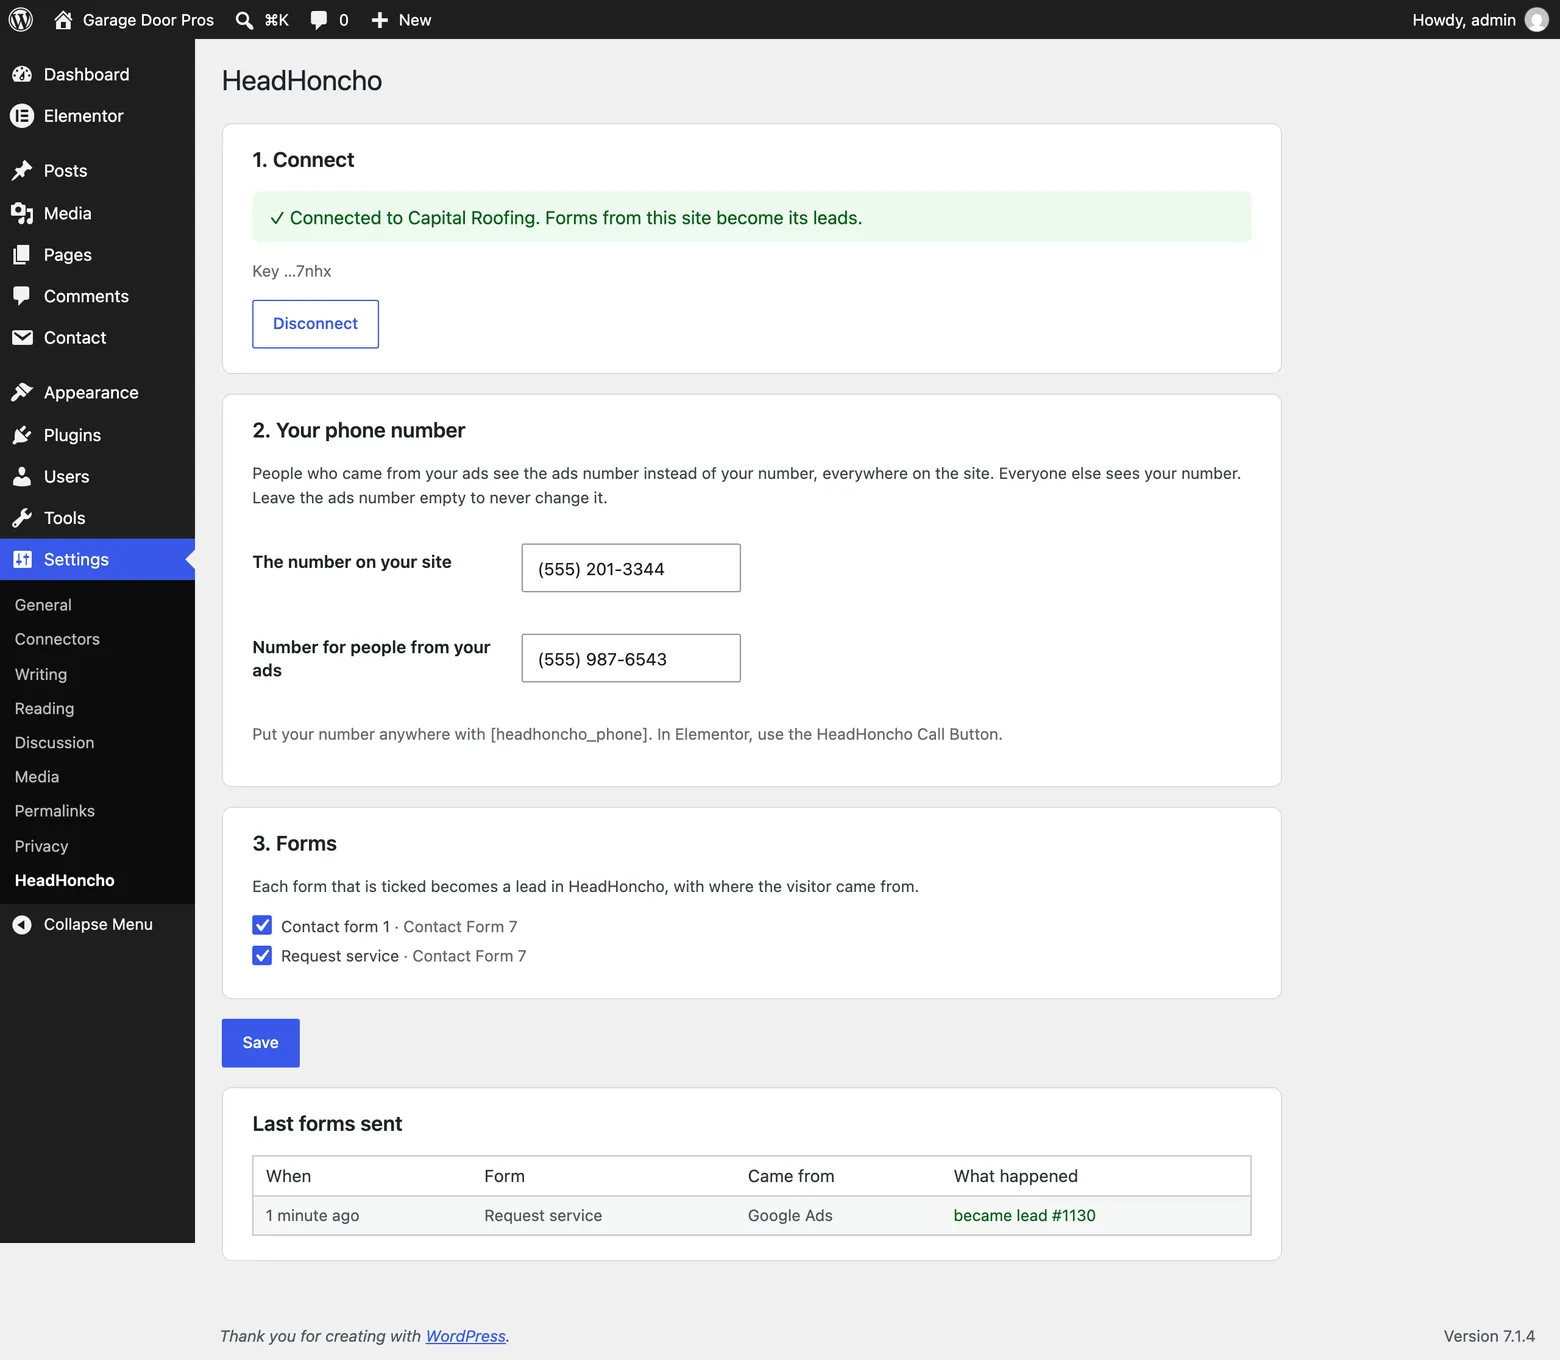
In HeadHoncho, the lead is in Jobs with its Job Source reading Google Ads, and the Your website card on Sources says last form and when. Delete the test lead when you are done.
How Job Source Is Filled
The plugin remembers where each visitor came from, for 90 days, in your own site's cookie. When they send a form, the lead's Job Source is read from that visit:
| The visitor came with | Job Source reads |
|---|---|
utm_source=google | Google Ads |
| A Google ad click and no UTM tags (Google adds the click by itself) | Google Ads |
utm_source=facebook, meta or instagram, or a Facebook ad click | |
utm_source=bing, or a Microsoft ad click | Microsoft |
utm_source=yelp | Yelp |
Any other utm_source | That word, as it is |
| Nothing | Website |
The campaign, the keyword (utm_term) and the other tags are
kept on the lead too. A visitor who came from an ad and comes back later on
their own still counts as the ad's. A newer ad click replaces an older
one.
The Google Click ID Goes Back to Google
When the visitor came from a Google ad, the plugin sends the ad's click ID
(the gclid Google adds to the page's address) with the form.
HeadHoncho keeps it on the lead, under Job Source, and ties it to the job
the form opened. When you send booked jobs to Google Ads, this job goes too,
with its click, so Google learns which ads bring jobs and bids for more of
them. It is the same report a tracked call's click is in:
Google Click IDs.
Microsoft and Facebook click IDs are kept on the lead the same way.
Your Phone Number
This part is optional. In Settings › HeadHoncho, under Your phone number:
- The number on your site: the number your pages already show.
- Number for people from your ads: the number people who came from an ad should see instead.
Visitors from an ad then see the ads number everywhere your number is
written, and every tap-to-call and tap-to-text link dials it. Everyone else
sees your number. To print the number on any page, type
[headhoncho_phone]. To keep one copy of your number from ever
changing, put it inside an element with data-hh-noswap.
Get a Number for Your Ads
The number for people from your ads is a booking number you make in HeadHoncho. Its calls ring whoever books your jobs: a call center, your office or the AI call center.
- In HeadHoncho, open Automations › Extensions.
- On Booking number, press Set up. Pick a number and where its calls ring, then press Add.
- Press Copy beside the number.
- In WordPress, open Settings › HeadHoncho, paste it under Number for people from your ads, and press Save.
The same steps are on the booking number's own page in HeadHoncho, under Put it on your website. With Elementor, the HeadHoncho Call Button shows this number to people from your ads; nothing more to set.
Visits, Taps and Calls
Once your site is connected, the plugin also counts each visit: where it came from, and whether it was on a phone or a computer. A visit ends after 30 minutes with nothing. Visits are free: they use no credits.
When a visitor taps your number on their phone and then calls your booking number within two minutes, HeadHoncho knows the call came from that visit. The call's Job Source is where the visitor came from, and a Google ad's click ID goes with it, so a booked job from the call goes back to Google too. If two visitors tap at the same moment, HeadHoncho does not guess: the call keeps the booking number's own source.
You see the last seven days on Statistics › Sources, under Your website: visits, how many tapped your number, and how many called.
With Elementor
Steps 1 to 4 are the same, and Elementor forms turn into leads like any other. Elementor then has three more things.
Your Elementor Forms
Forms made with Elementor Pro's Form widget are sent by themselves, as long as Every Elementor form is ticked in Settings › HeadHoncho. To send only some of them, untick it, and in each form you want, open Actions After Submit and add Send to HeadHoncho. There is nothing to set: the name, phone, address and message are found by their labels.
The HeadHoncho Call Button
- Edit a page with Elementor.
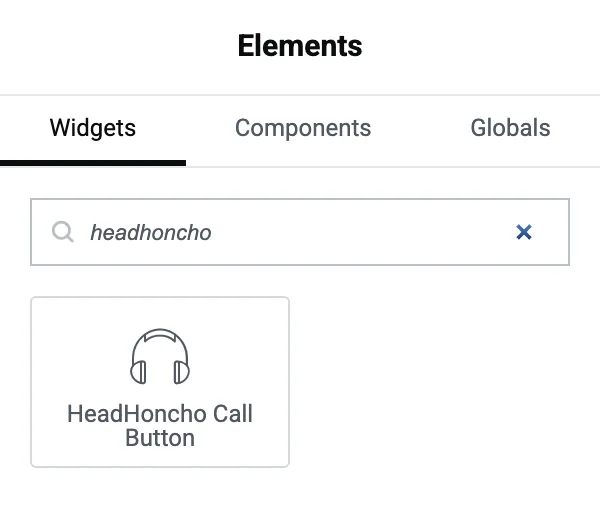
- In the widgets panel, search headhoncho.
- Drag HeadHoncho Call Button onto the page.
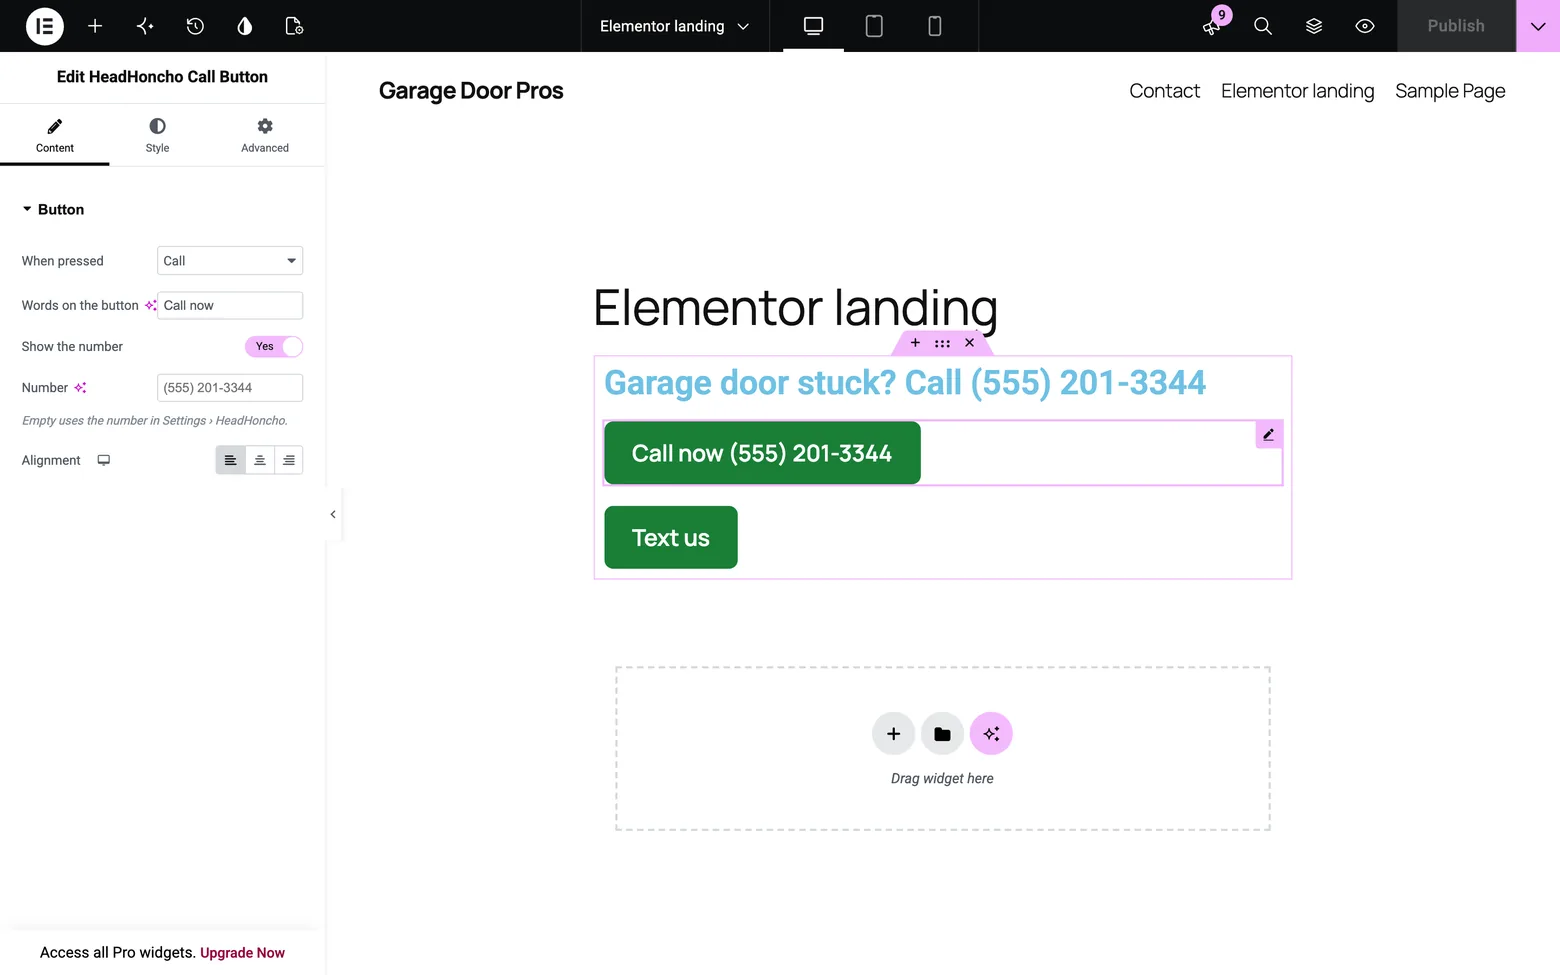
It shows your number as a button that calls, or texts, when pressed. You choose the words on it, whether the number shows, its colours and its corners. Visitors from an ad see the ads number on it. The button works in free Elementor too.
The Phone Number Anywhere (Elementor Pro)
In any heading or text, press the dynamic tags icon and choose HeadHoncho phone number. In any button's link, choose HeadHoncho call link.
If It Says Something Is Wrong
| It says | What to do |
|---|---|
| That is not a HeadHoncho key. | Copy the key again from the Your website card. It starts with hhsite1_. |
| HeadHoncho does not know this key, or it was replaced. | Someone pressed New key, or the website was disconnected. Make a key on the card and paste it. |
| HeadHoncho could not be reached. | Your web host is blocking calls out. Ask your host to allow api.headhoncho.app. |
| waiting to be sent again | Nothing. The form is kept and sent again by itself, for up to six tries. |
| Not connected yet. Your forms are not being sent. | Do Step 3. |
A form the plugin does not list under Forms is not sent. Check that it is made with one of the five form plugins above.
What It Does Not Do
- It works on WordPress only. It does not install on Wix, Squarespace or GoDaddy's website builder.
- It ties a call to a visit only after a tap. Someone who reads your number on a computer and dials it by hand is counted as a call to your booking number, not as that visit's call.
- It sends only the five form plugins' forms, and only forms sent after you connect. A form inside a frame from another service, such as an embedded Jotform, is not seen.
- It never sends passwords, card numbers or consent boxes, whatever the form calls them.
- Only Google's own click ID goes back to Google.
On some iPhones Google adds a different ID instead (
gbraidorwbraid). HeadHoncho keeps it on the lead but does not send it to Google yet. - Each form uses 1 credit, like any call to the HeadHoncho API. See Plans and usage.